Welcome to The Army Painter’s Paint Like a Pro
Welcome to the first instalment of Paint Like a Pro, a series in which our two studio painters, Thomas and Steffen, will share tips on various subjects related to miniature painting.
In this inaugural round of Paint Like a Pro, Steffen shares 10 tips for your first paint setup and the essential equipment you need when starting out miniature painting.
Essential Miniature Painting Equipment
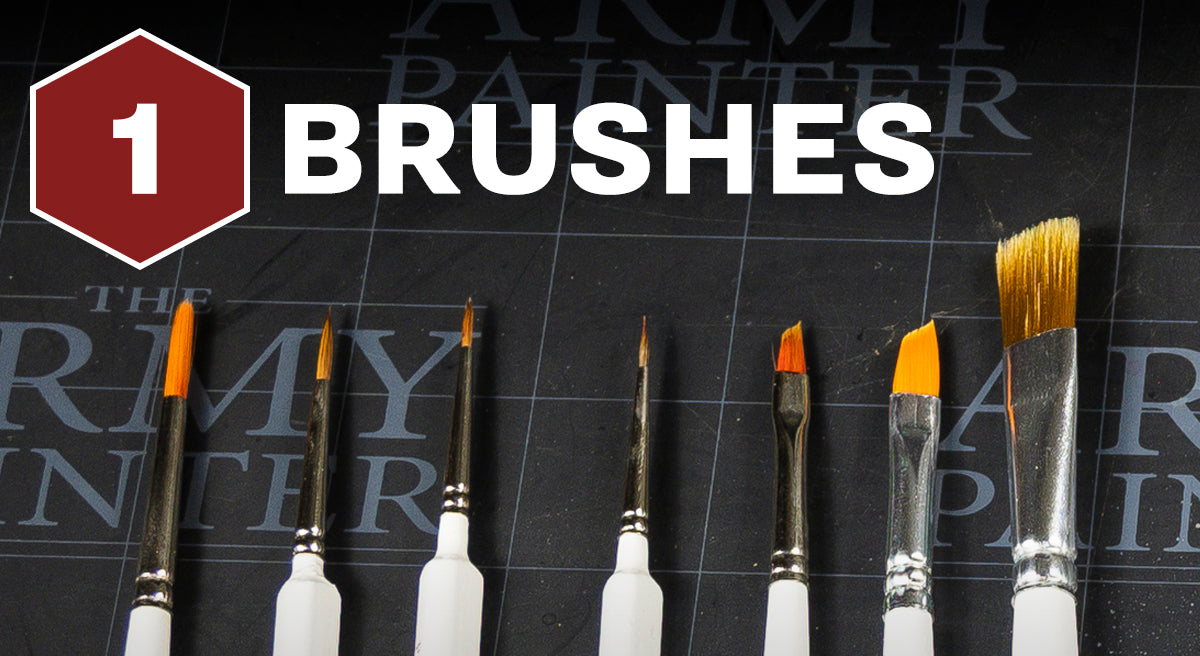
Good brushes are essential, and it is a good idea to have a selection of different types and sizes for your different tasks. I recommend getting started with the Regiment Brush and the Detail Brush, as these will cover most of what you need when starting out.
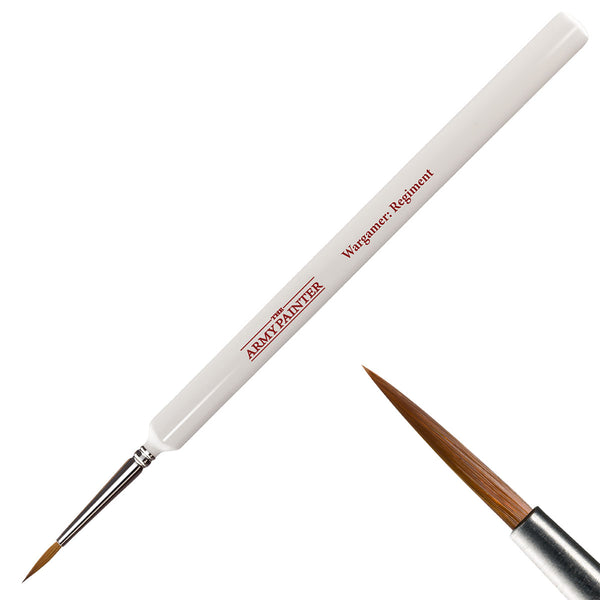
The Regiment Brush is good because the body of the bristles can hold a large amount of paint, while still maintaining a point. This means you can cover large areas or do more precise work with the same brush without the paint drying in the bristles while you paint or having to stop to reload the brush with more paint.
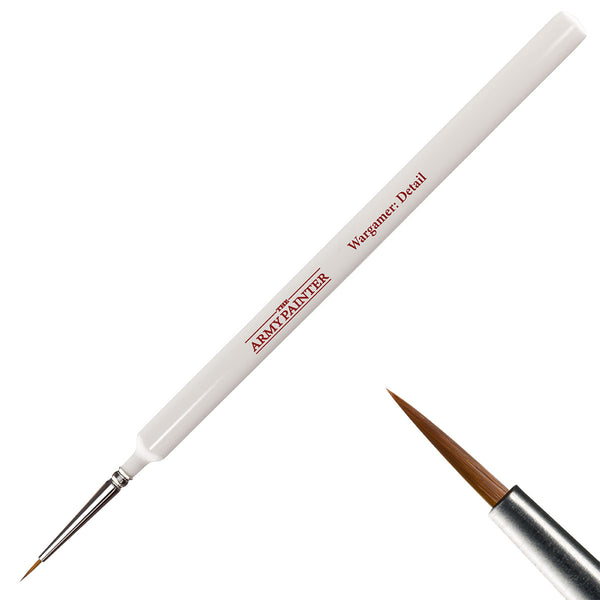
The Detail Brush works well for the finer details where you have to be precise and sharp, and where small applications of paint are desired. I use these two for 90% of my brush painting.
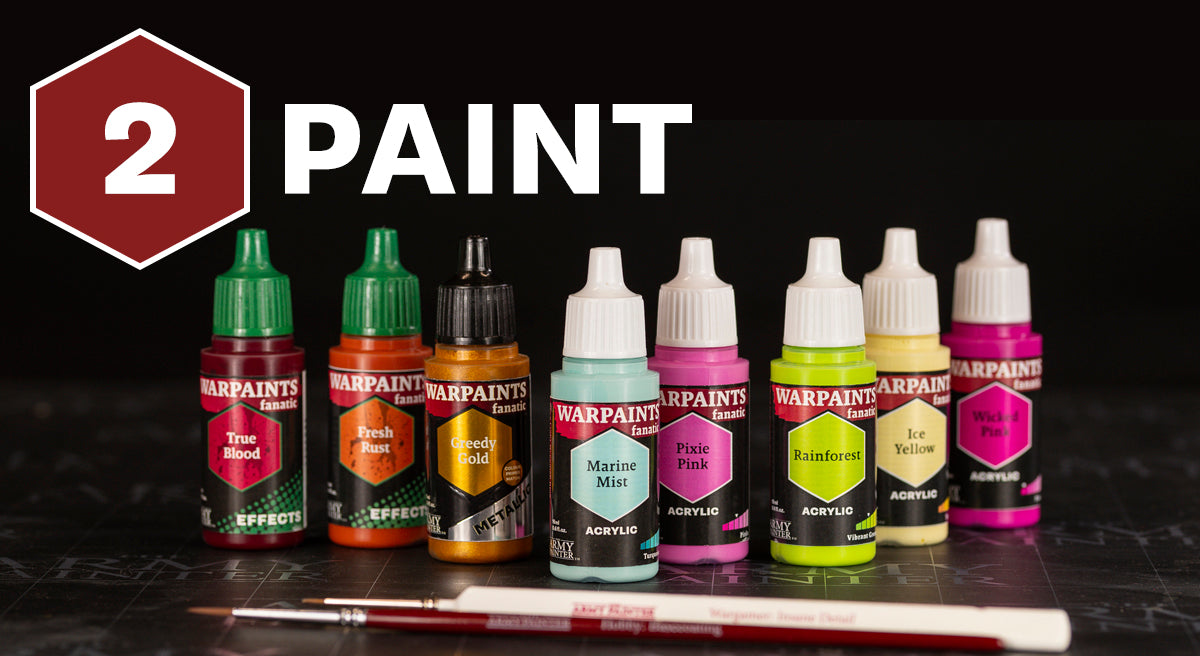
You have your brushes now, but you won’t get anywhere without paints, but where to start?
When building your paint collection, it’s easy to get overwhelmed with the sheer choice of colours available (over 400 different paints in our three paint ranges!).
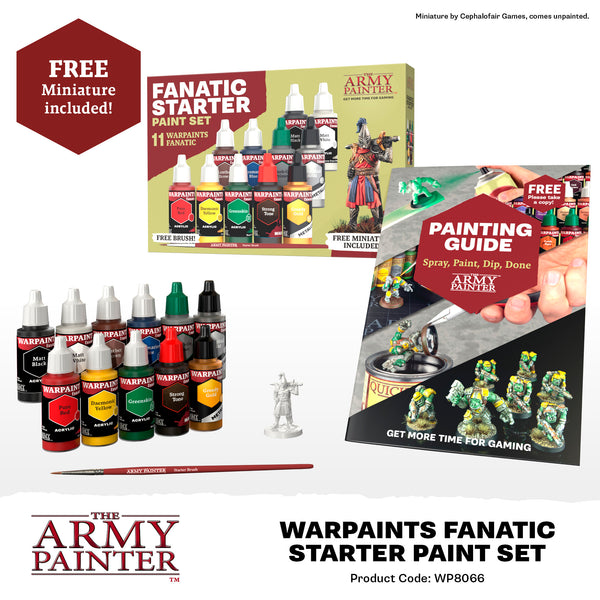
We developed the Warpaints Fanatic Starter Set to make it easy to start out your collection. This set is my recommendation for any aspiring miniature painters. With it you can get right to the fun part, painting your first minis! It gets you your fundamental colours, a brush on primer, and a wash - which are perfect for getting started.
When you feel ready for it, you can add on a bigger set, or hand pick the individual colours you want to expand your collection as you see fit.
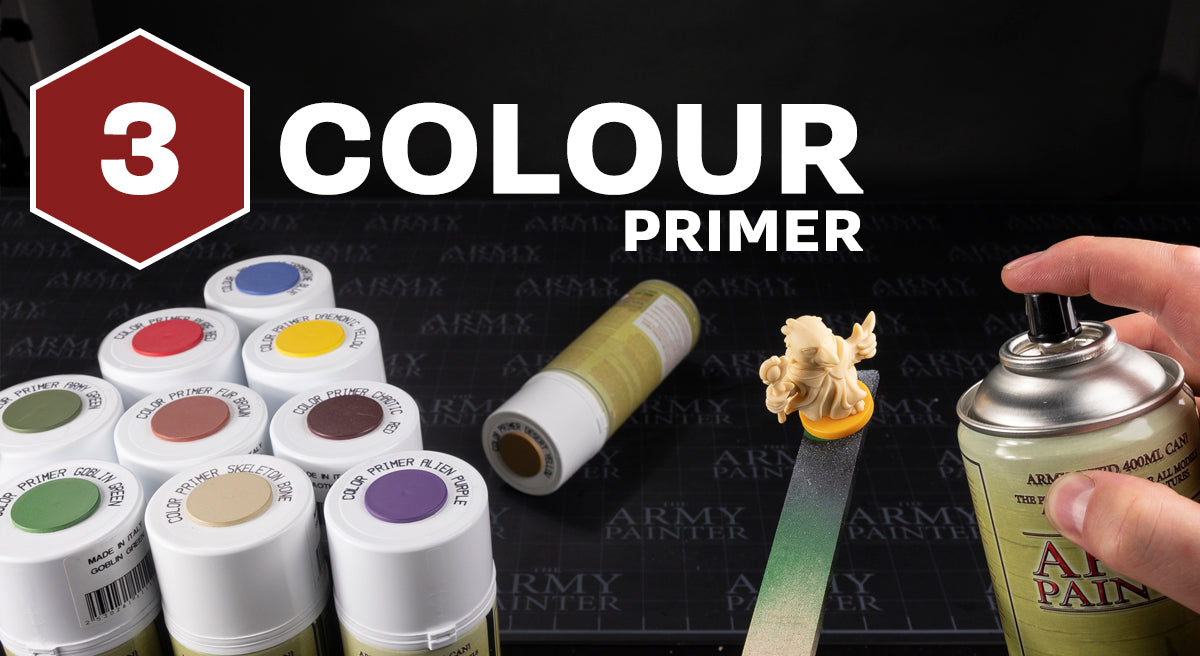
Priming your miniature is very important! If you don’t, the paint won’t adhere to the figure and will be more prone to chipping and flaking off.
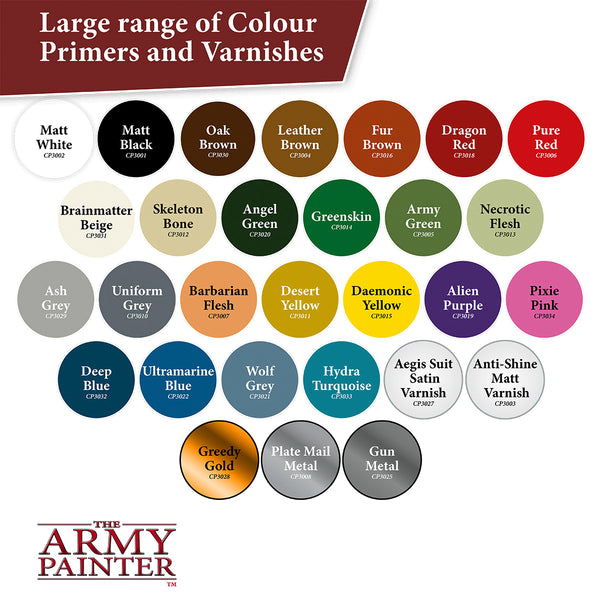
The Fanatic Starter Set includes a Brush-On primer, but if you want to prime larger miniatures or more than one at a time, I’d recommend one of our Colour Primers. You can also use the Colour Primer as the first basecoat, and all the colours in the Fanatic Starter Set have a matching Colour Primer as well as several more in the range!
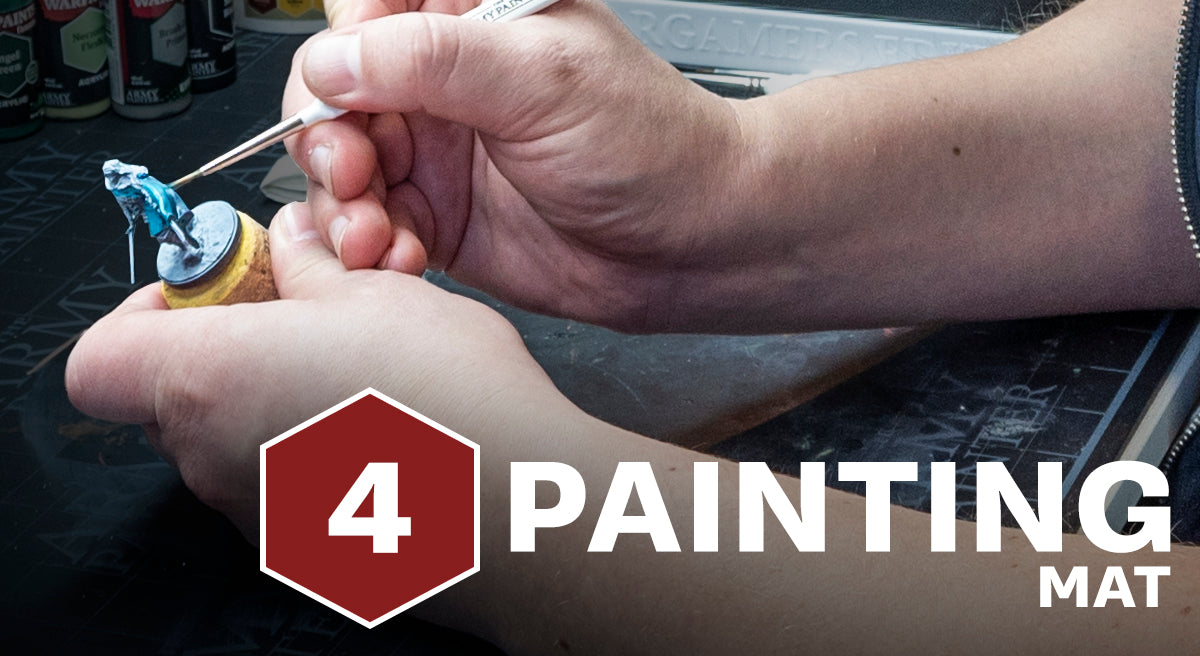
It’s a good idea to protect your workspace from spills as accidents can happen when handling paint - even for the pros! This is especially important if you do not have a dedicated workspace, so you don’t get in trouble for spilling paint on the dinner table or cutting into the tablecloth when assembling miniatures.
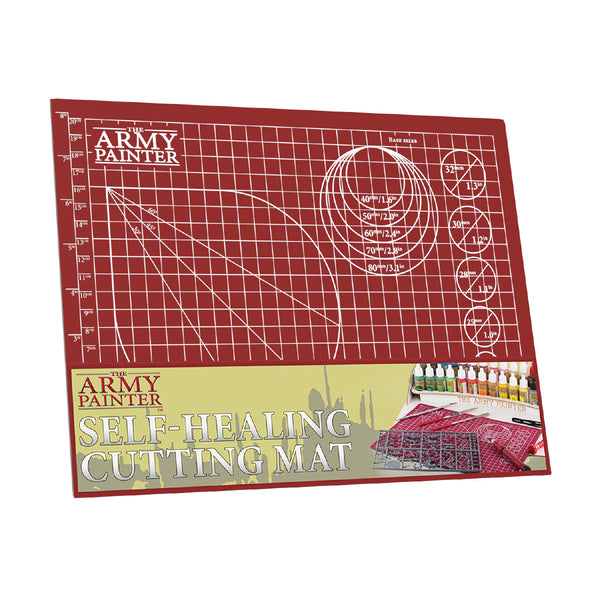
Our self healing cutting matt is great for this, and you can always add a coaster or old newspaper as well, just to be safe and cover an even larger area beyond the cutting mat.
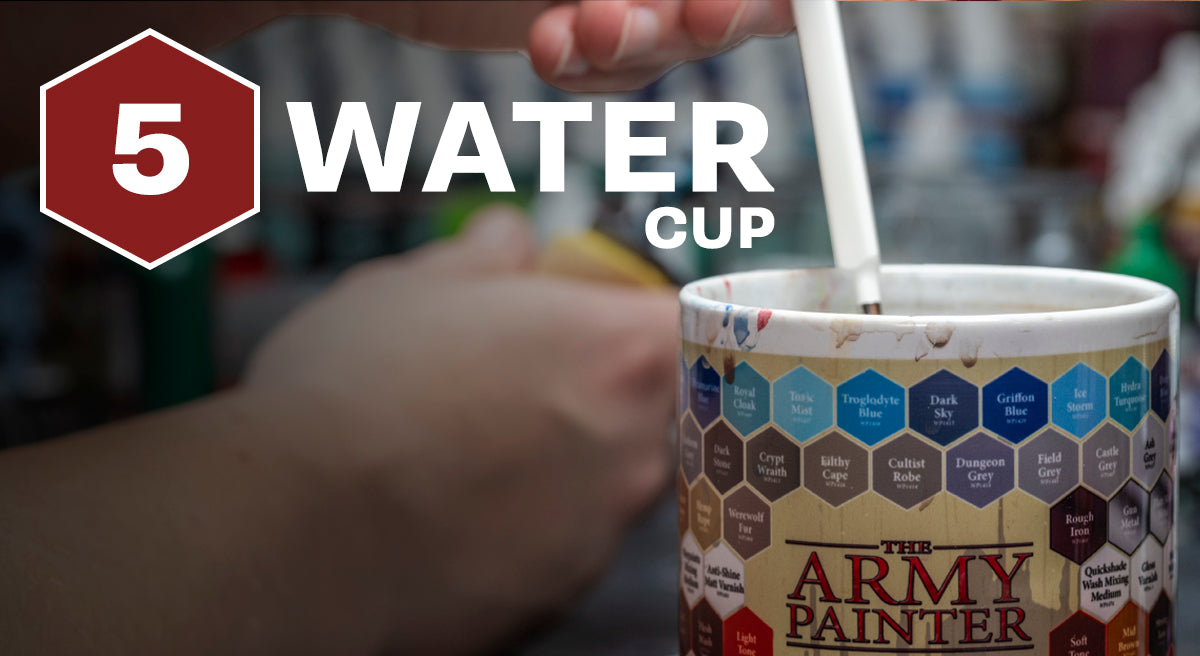
When painting, you need fresh, cold water (warm water is bad for the bristles!) by your side to rinse off your brushes between colours. For this I recommend a good sturdy container.
Any “cup shaped” container will do, but there are a few things that are worth considering before choosing yours. Always pick something with a solid footprint, or a heavier cup made of glass or porcelain which is less likely to get accidentally knocked over. An added benefit from glass and porcelain is that it is easier to clean properly afterwards if need be.
And most importantly, don’t choose one that looks like your favourite mug – you don’t want to take a sip from the wrong cup!
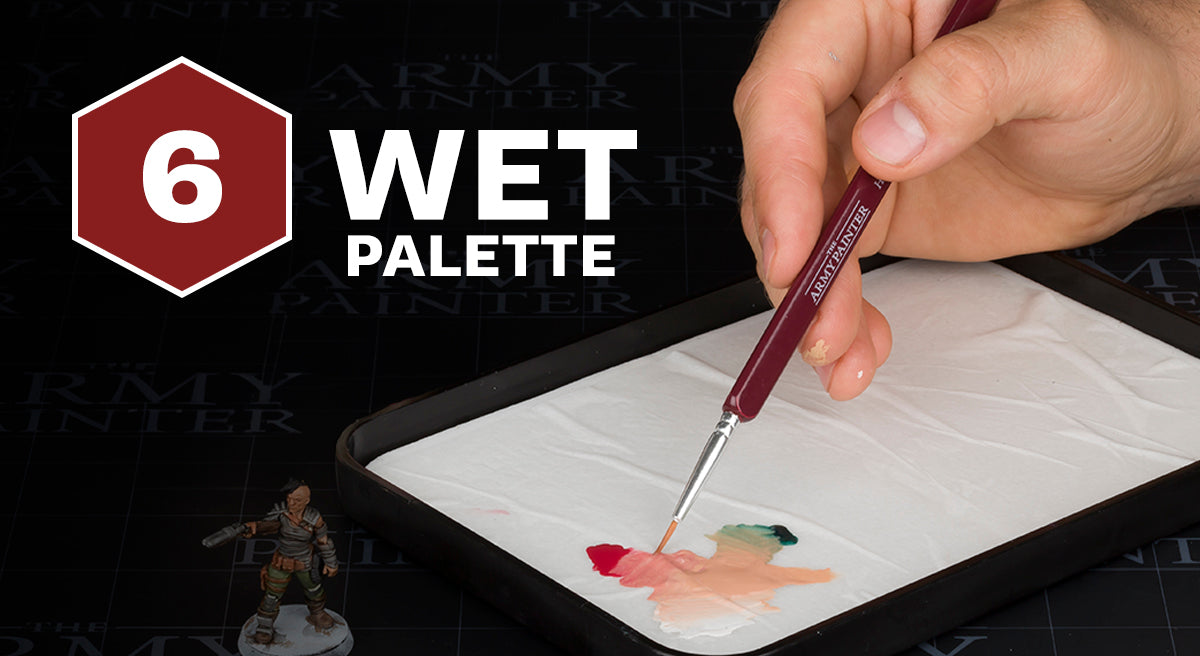
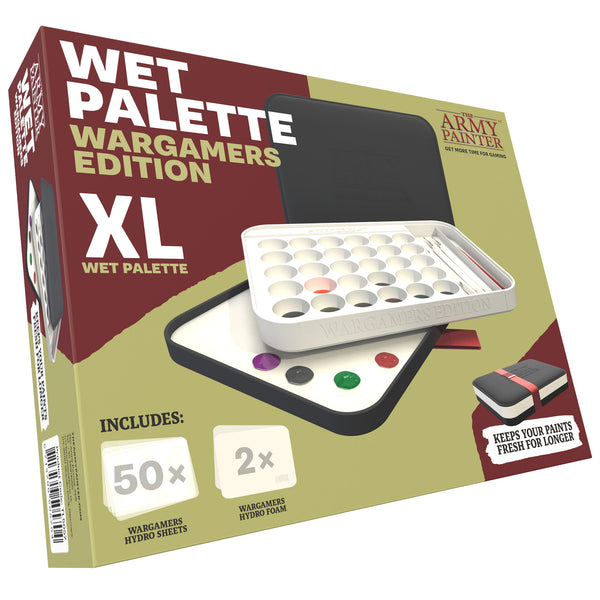
This is not absolutely necessary, but having a Wet Palette (either a “regular sized” Wet Palette or an XL Wet Palette) can truly help improve your painting experience, even as a beginner. Using a Wet Palette makes it easier to work with the paint, as it extends the worktime of the paint by keeping it hydrated.
It also allows you to continue using the paint on your palette between sessions, at least for a day or two. An important consideration if you’re mixing colours.
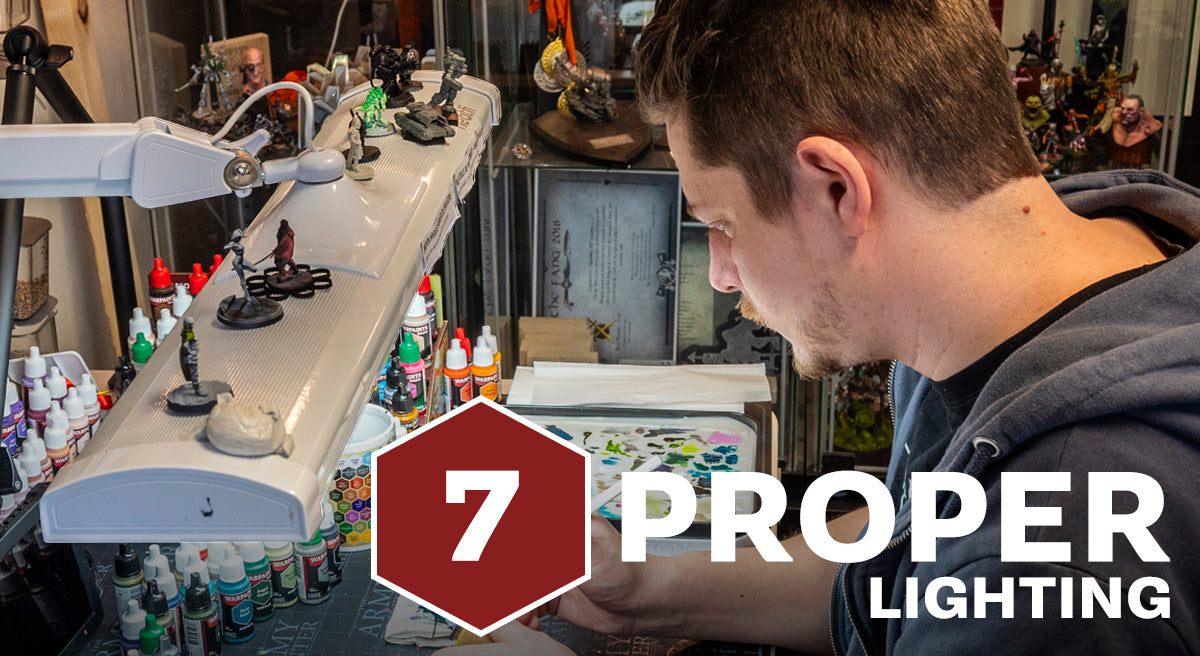
A thing that’s often overlooked is the lighting of your workspace. And there are actually several reasons why this tip is something beginners should especially be aware of.
First, painting a miniature often involves working on very small, detailed minis, requiring precise application of intricate detail. Adequate lighting illuminates these tiny details, making it easier for beginners (and pros) to see and paint more accurately. Without proper lighting, it’s easy to miss fine lines or textures, leading to less detailed and lower-quality finishes.
Secondly, proper lighting ensures that you see the colours as they truly are. Natural daylight provides a neutral light that doesn’t distort the colours and allows you to see them accurately.
Third, working on miniatures can be a strain on your eyes, especially when focusing on small details for extended periods of time.
So, what kind of lighting should you get? A wide variety of lamps are available for every budget, but a standard desk lamp can work. What you need to be aware of is the colour of the light. It should preferably be pure or white light, as a yellow light makes it harder to see the colours correctly. Many LED lamps have an adjustable hue, and traditional bulbs also come in a variety of white and cold hues such as daylight bulbs, if you already have a desk lamp.

When you get in the zone or need to finish a large army quickly, you can find yourself sitting for long hours at the painting desk. That is why it’s important to have a proper work area. This involves adjusting the chair and table height and ensuring the painting surface is at a comfortable distance. There’s nothing worse than finishing a productive painting session with an aching back.
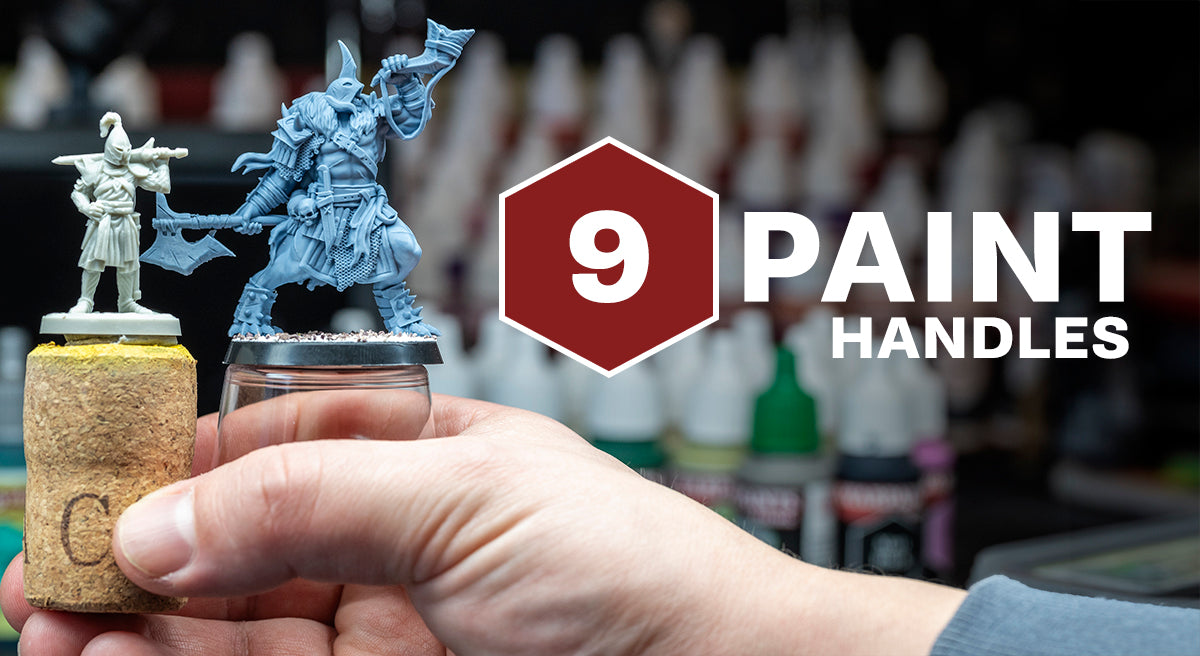
Most beginners start painting minis by holding the model directly while painting. I’d recommend sticking your miniature to some sort of handle when you’re painting. It doesn’t have to be a dedicated painting handle, as a wine cork, pill bottle, or even a spray paint cap can also work.
It gives you greater stability and control and reduces the chances of accidentally touching the miniature while the paint is wet. For beginners who might not yet have developed a steady hand, a painting handle can significantly improve control over the brush. It’s also easier to rotate the miniature and get access to all of the different angles.
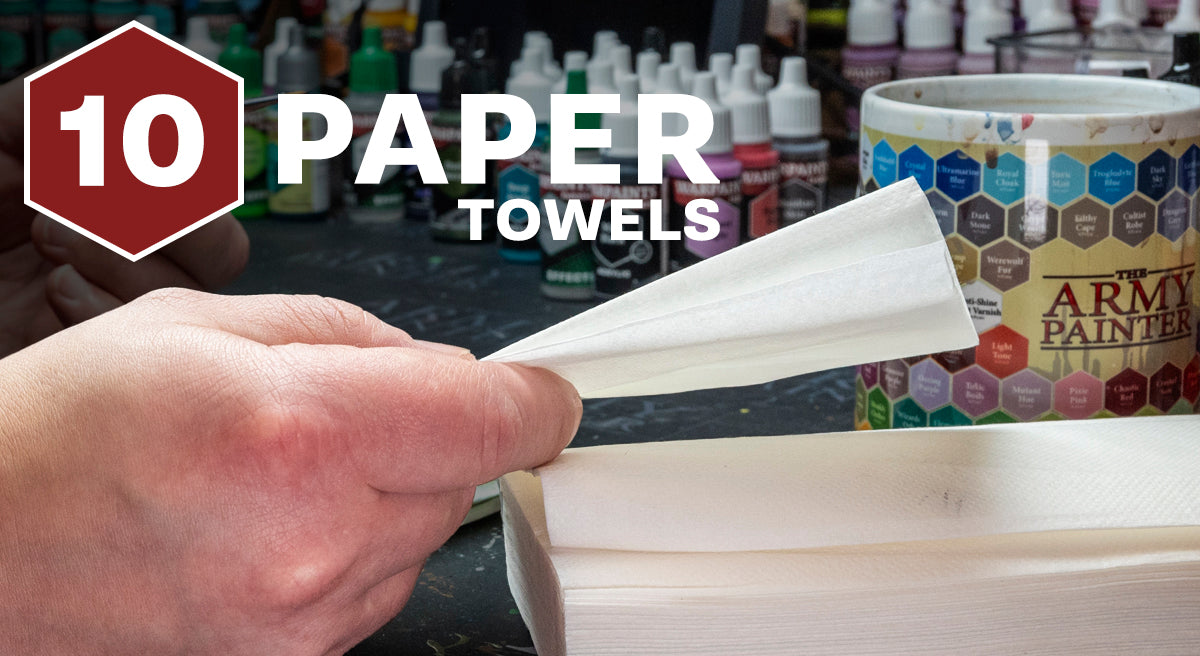
My final tip is to keep plenty of paper towels nearby. This might seem like an odd choice for a piece of essential equipment, but paper towels truly are indispensable. When cleaning your brushes, you need something to wipe them off on, and having a paper towel nearby is very useful when you spill things, because you most likely will. It’s also useful for drybrushing, as you can wipe most of the paint off your brush onto the paper towel before painting.
The right tools will make the difference
Some of these may seem like obvious inclusions, but it never hurts to make sure you have everything you need before getting started. You don’t want to break your painting flow by realising you forgot something you need in the other room.
If you set yourself up for success with all of the right tools, you’ll find painting minis much easier, especially for beginners. I can’t tell you how many times I’ve been frustrated, only to realise it’s just due to me using the wrong tool for the job. The right brushes, paints, lighting, seating, and everything else really do make a world of difference!


