How to paint
Aeldari Swooping Hawks
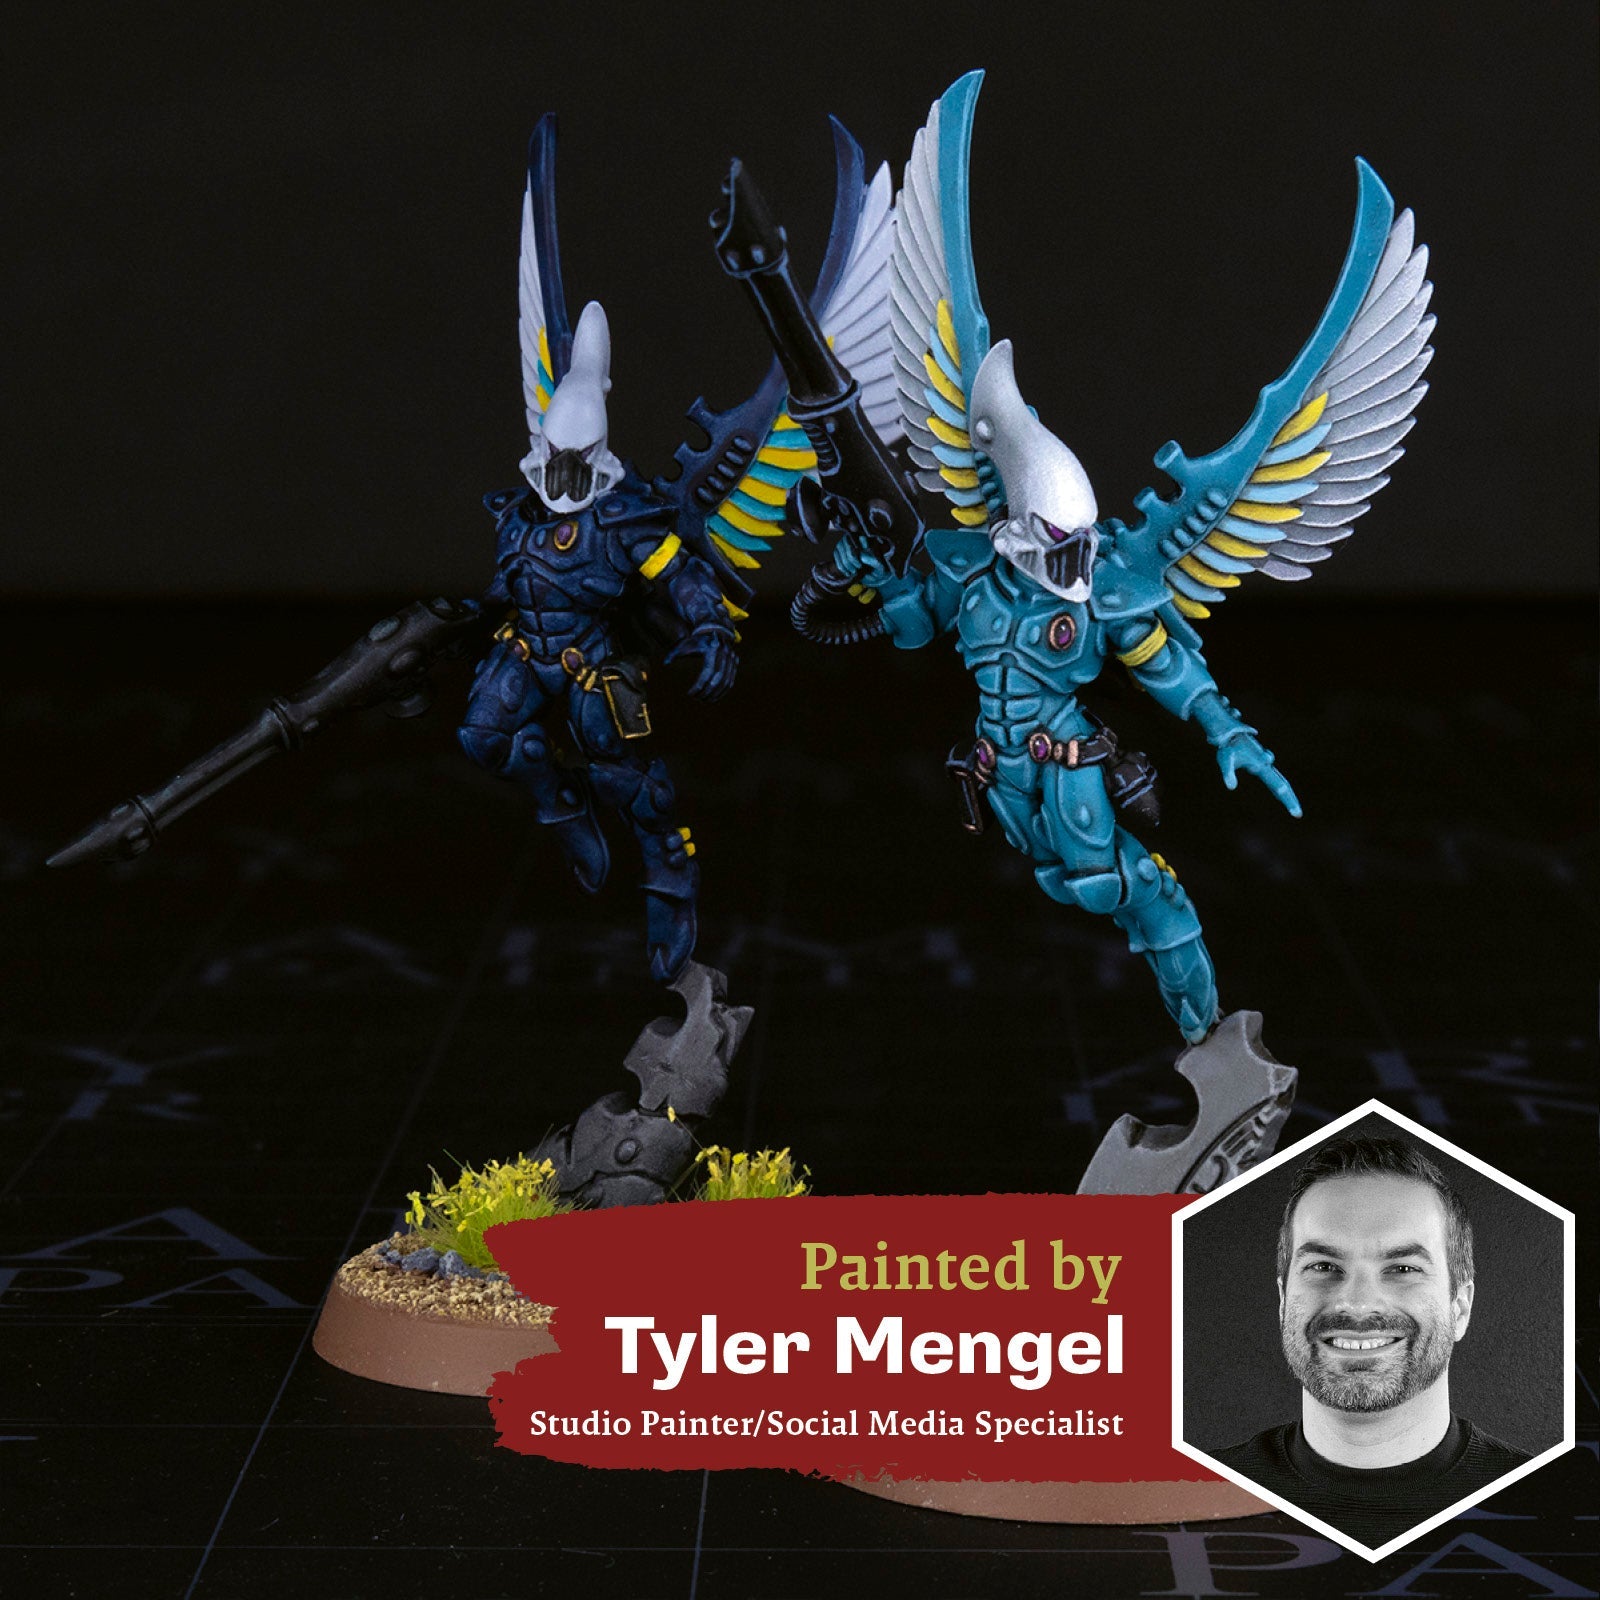
Welcome to the next instalment of The Army Painter Academy: a series where we break down how we paint a miniature step-by-step, complete with pictures for every bit of paint applied along the way.
The strands of fate have been studied, and the various paths laid out before us. The path of the warrior beckons, and the Swooping Hawks will answer! To celebrate the launch of the Aeldari for the 10th edition of Warhammer 40,000 by Games Workshop, we put together a variety of paint bundles to help you efficiently paint up all the new Aspect Warrior sculpts pouring forth from the webway. Scorpions, and Spiders, and Hawks, oh my! While the multitudinous cults of Aspect Warriors may be too numerous and varied for us to cover in their entirety, we did manage to strike a deal with Kaela Mensha Khaine and wrangled up a guide for the Swooping Hawks using these exciting new paint bundles! For those looking to take to the tabletop as soon as possible, we have a Speedpaint bundle and guide, and for those looking to master the path of the artisan as well as the warrior, we have the slightly more involved Warpaints Fanatic only bundle and guide.
These tutorials are broken down into sections, such as the armour, the gun, and so forth. Each section is further broken down into manageable steps by applying one colour at a time. If you’re on a desktop, simply click the arrows at the bottom of each section to scroll through the steps or scroll to the side on your mobile phone.
Let's get painting!

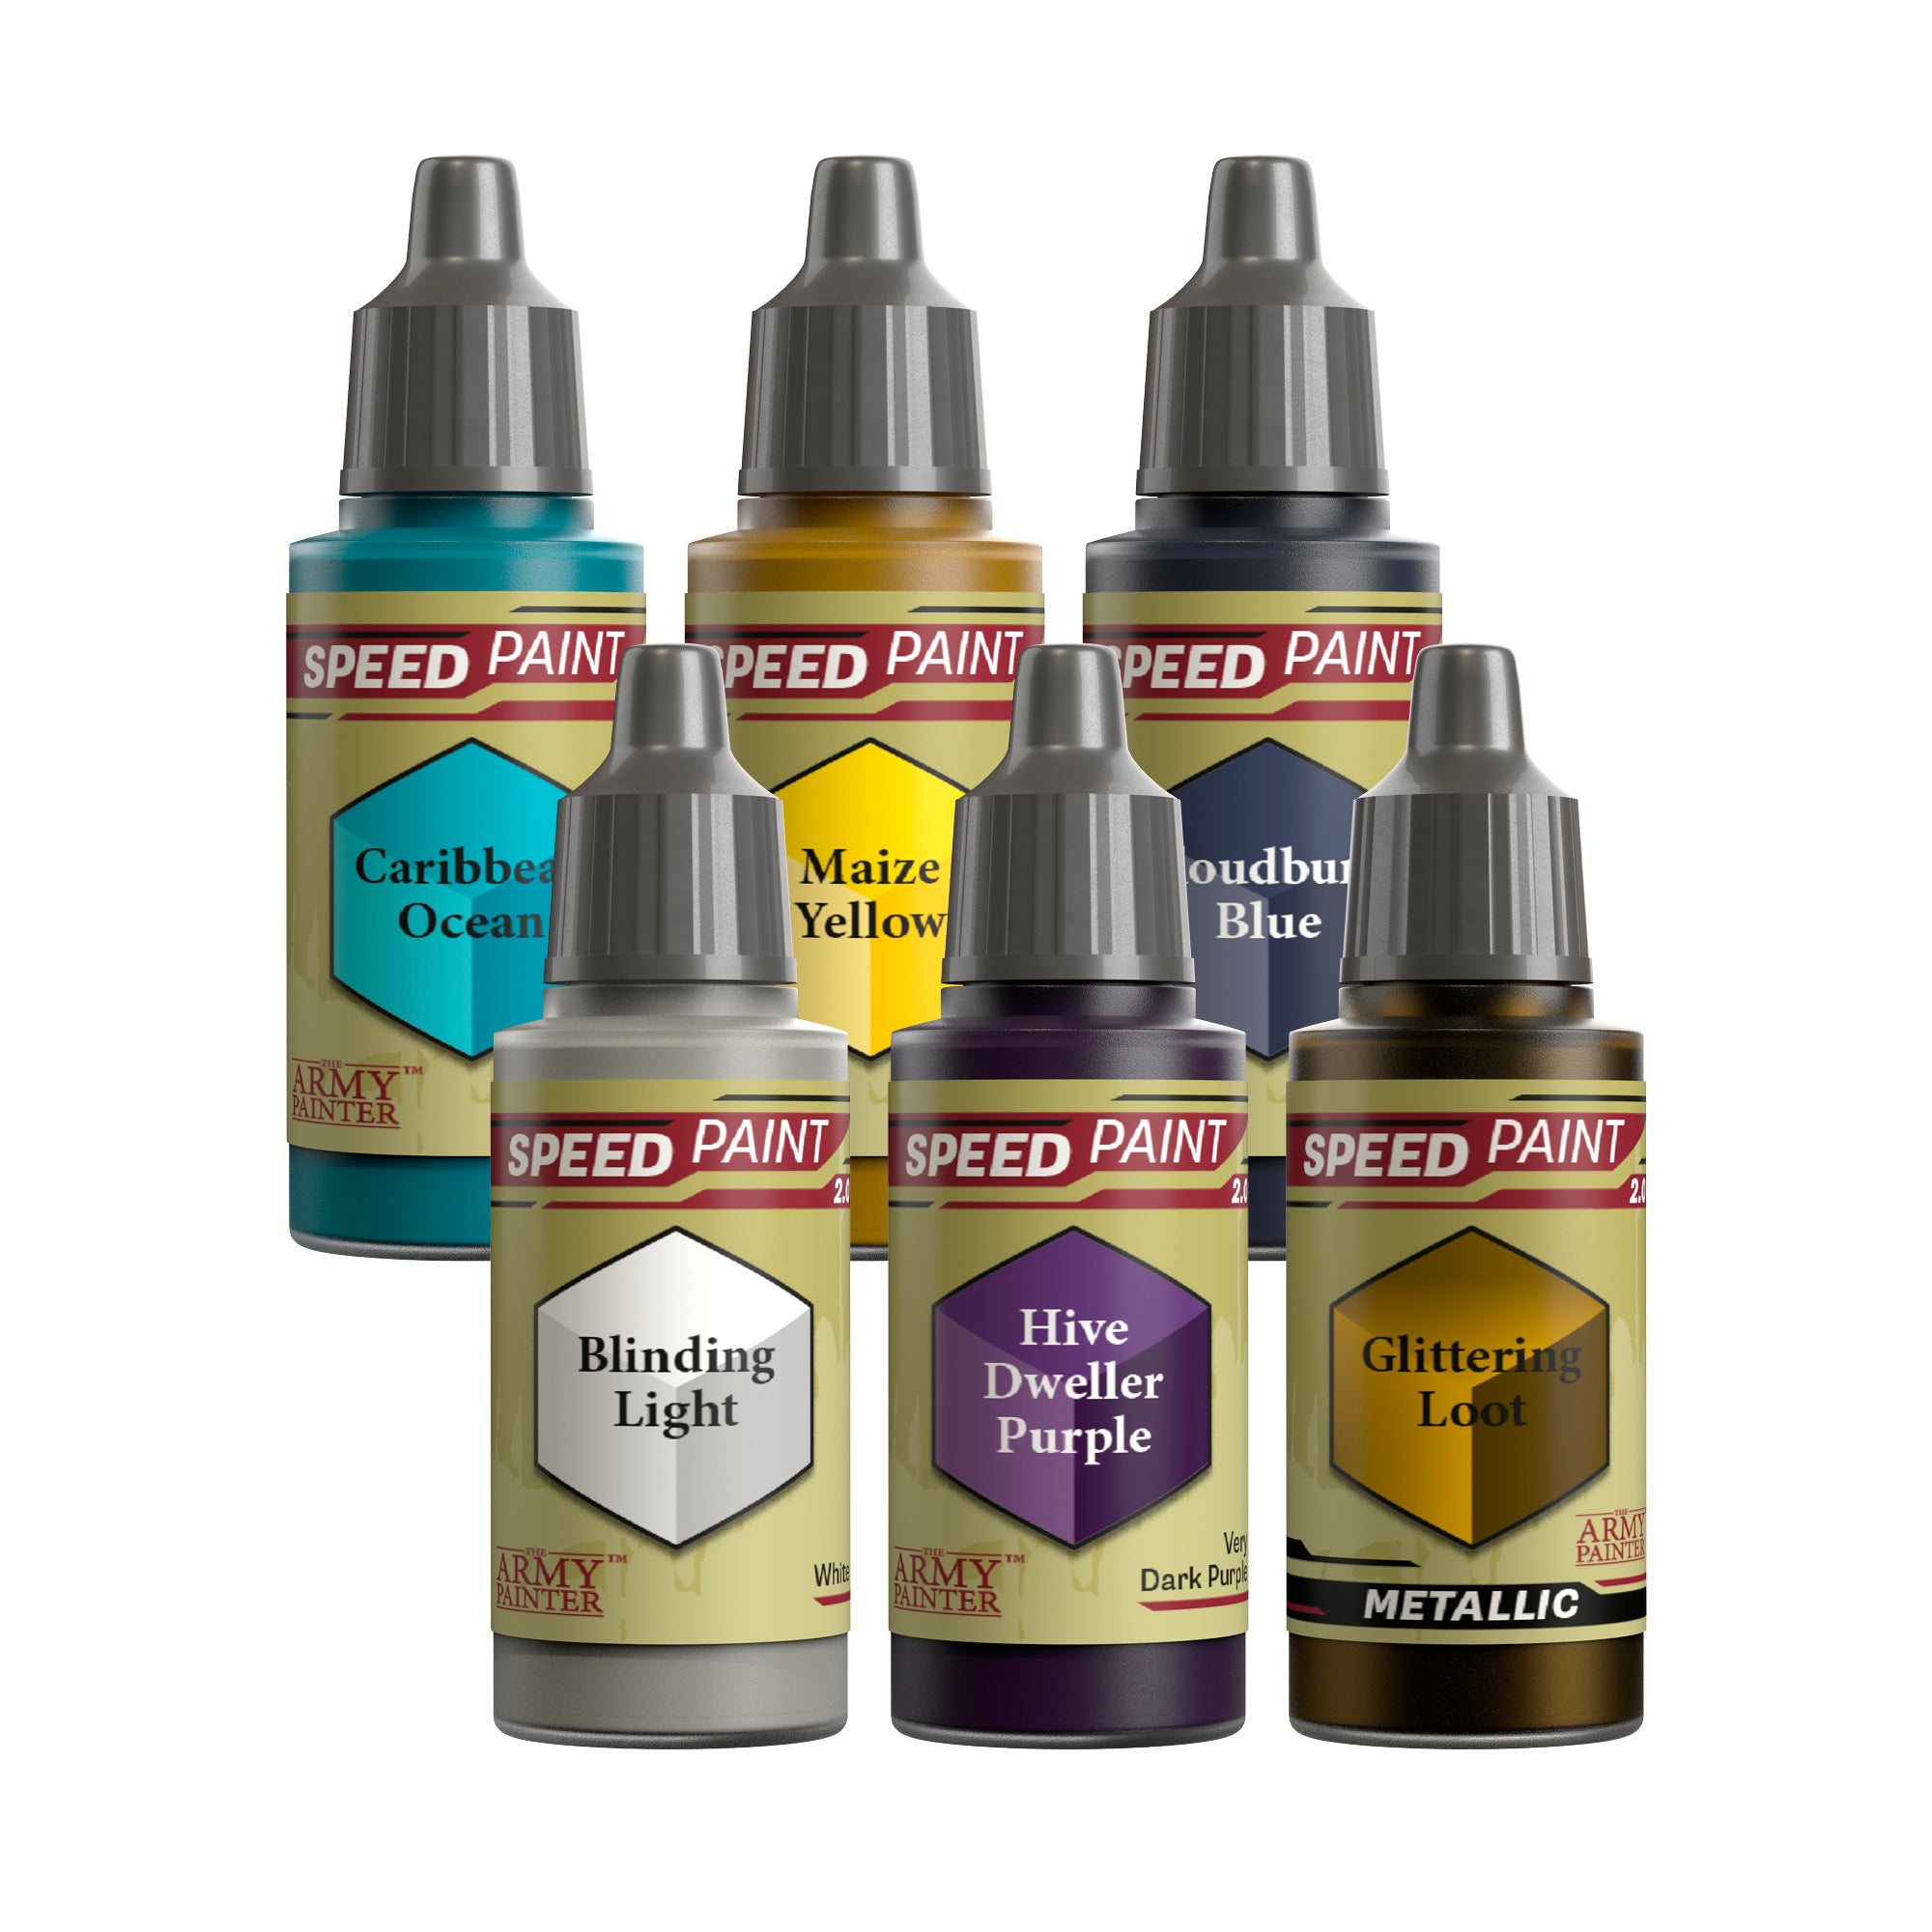
Each of the Speedpaint bundles for the Aeldari Aspect Warriors comprises six Speedpaints to help you bring their most iconic colour schemes to life. While the paints included in these bundles cover the main colours, we’re also assuming you may have some paints on hand already, such as some Colour Primers, and in this case, Speedpaint Grim Black and Speedpaint Medium. Black and white are pretty core colours to most colour schemes and staples of most hobbyists’ existing collections. If you don’t already own these be sure to pick them up alongside your Swooping Hawk Speedpaint Bundle to complete the colour scheme.


Speedpaint

Step 1
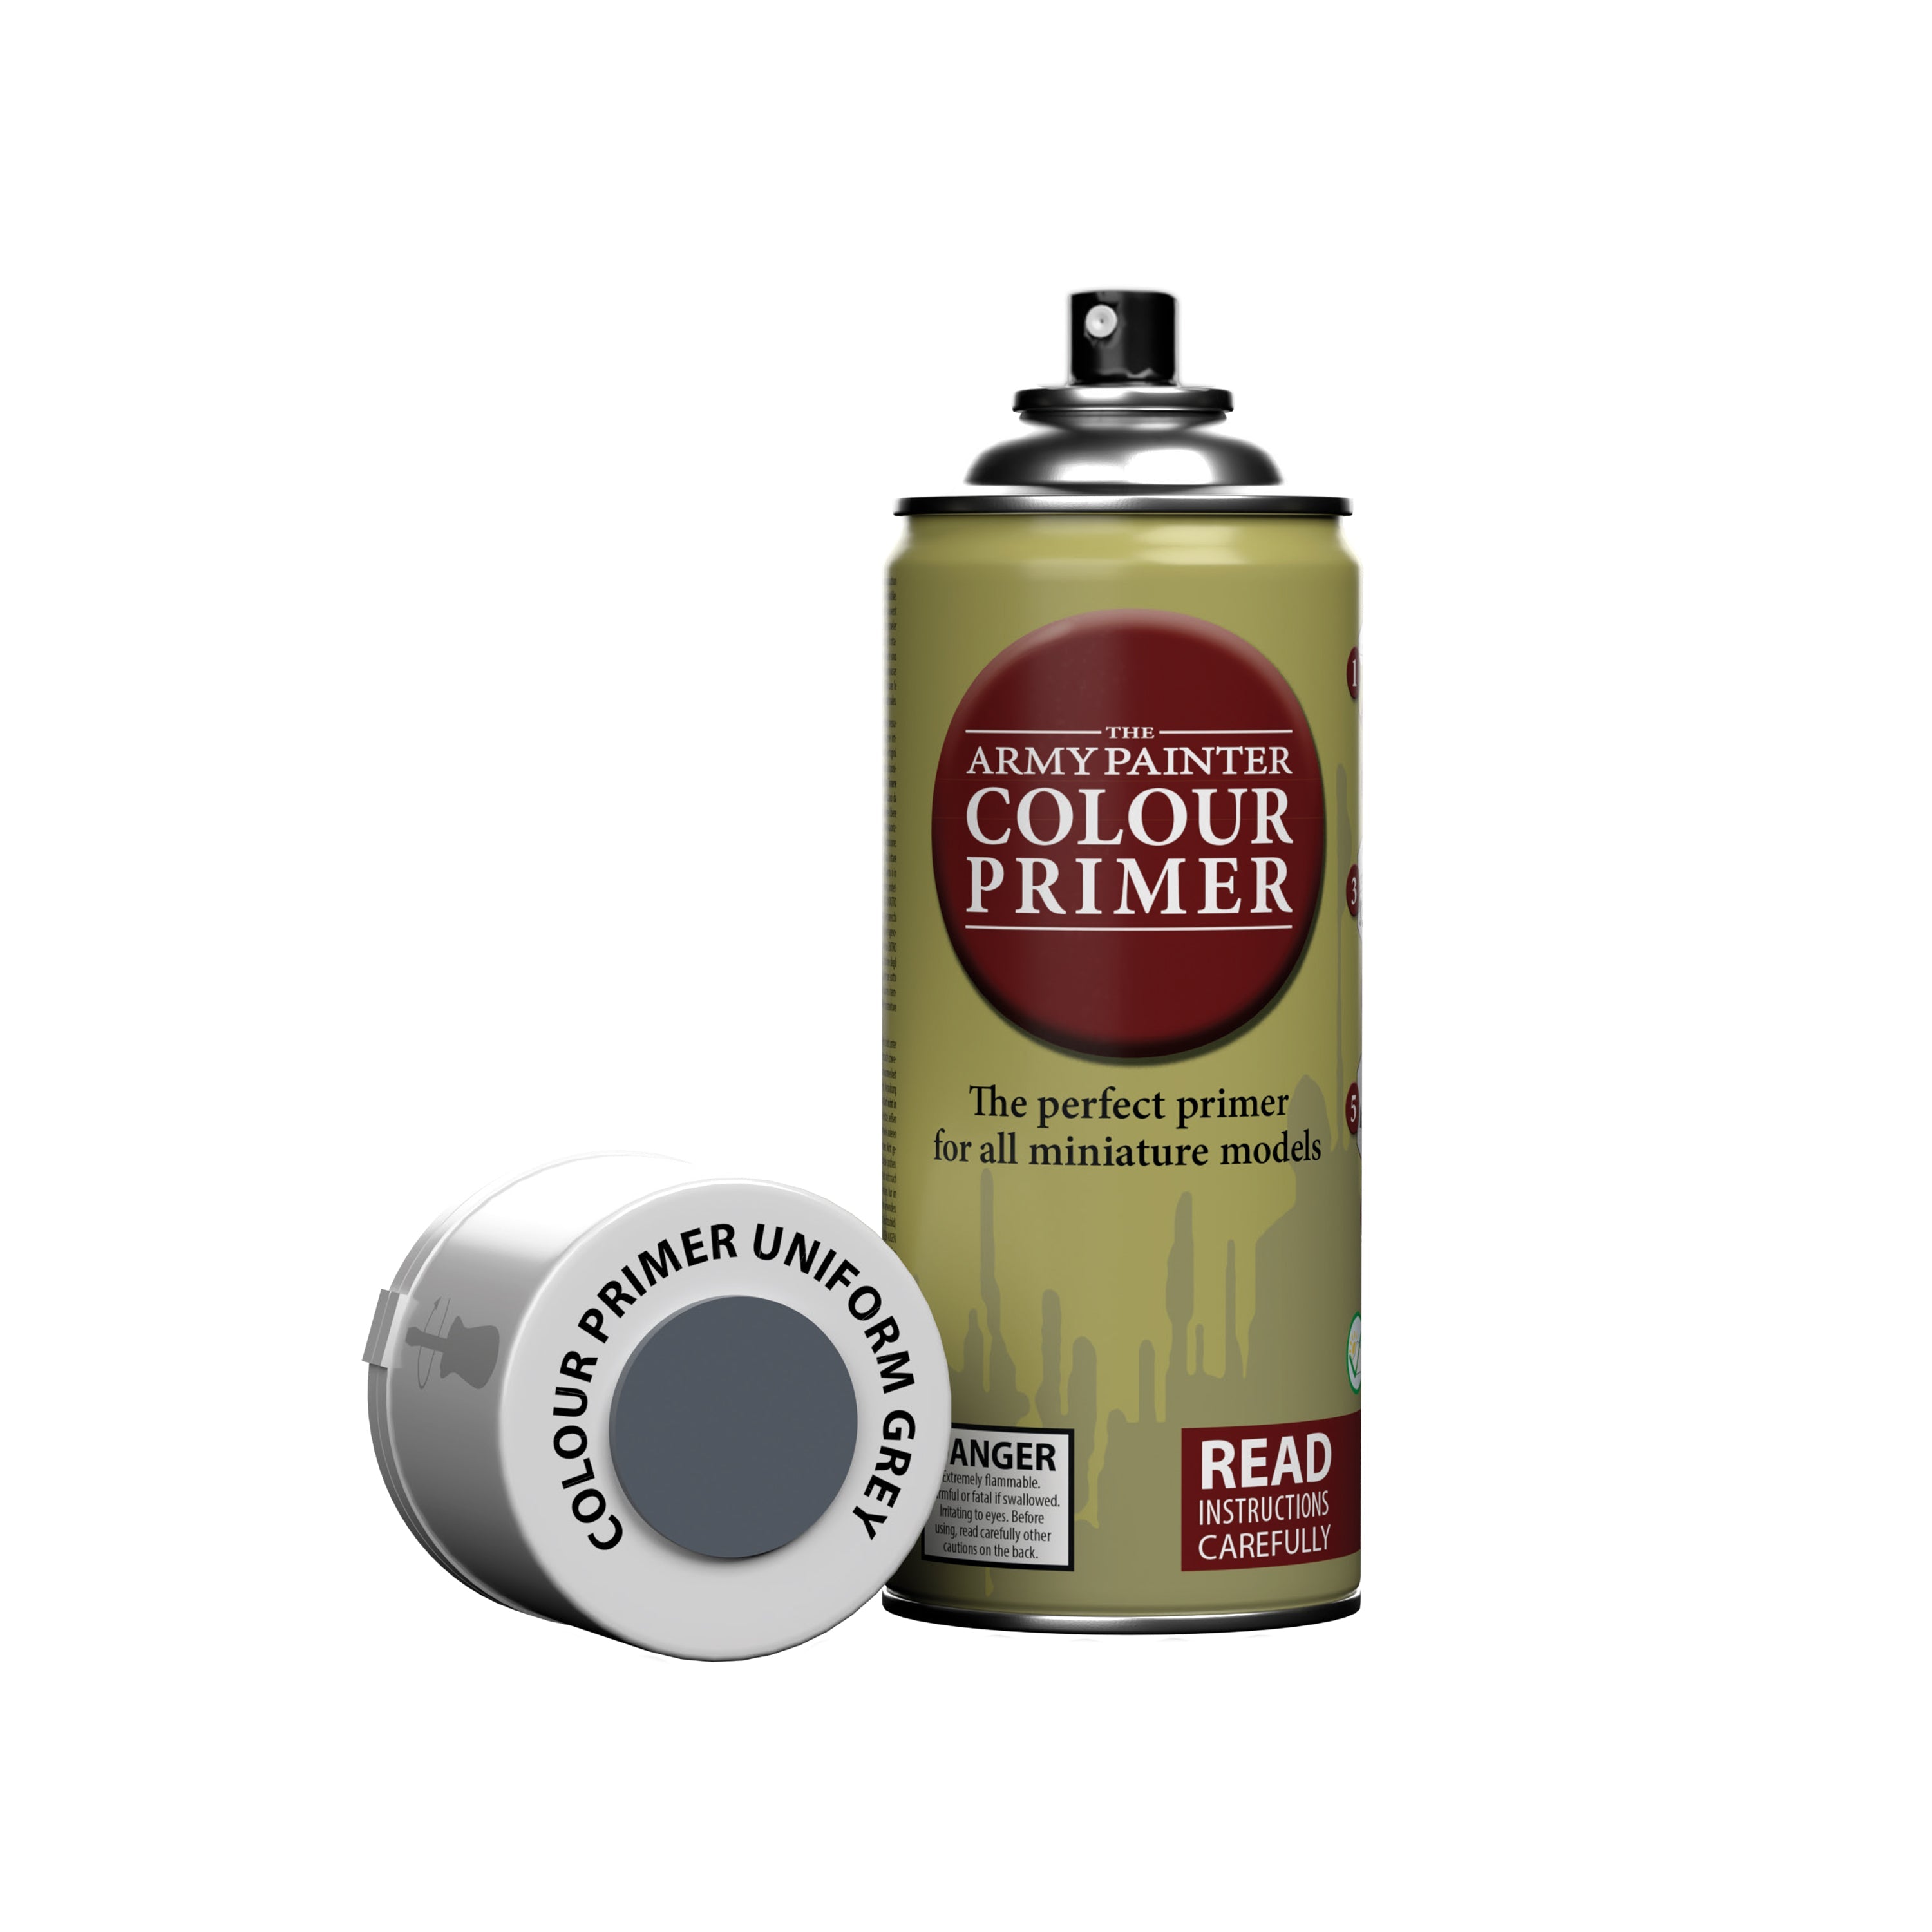
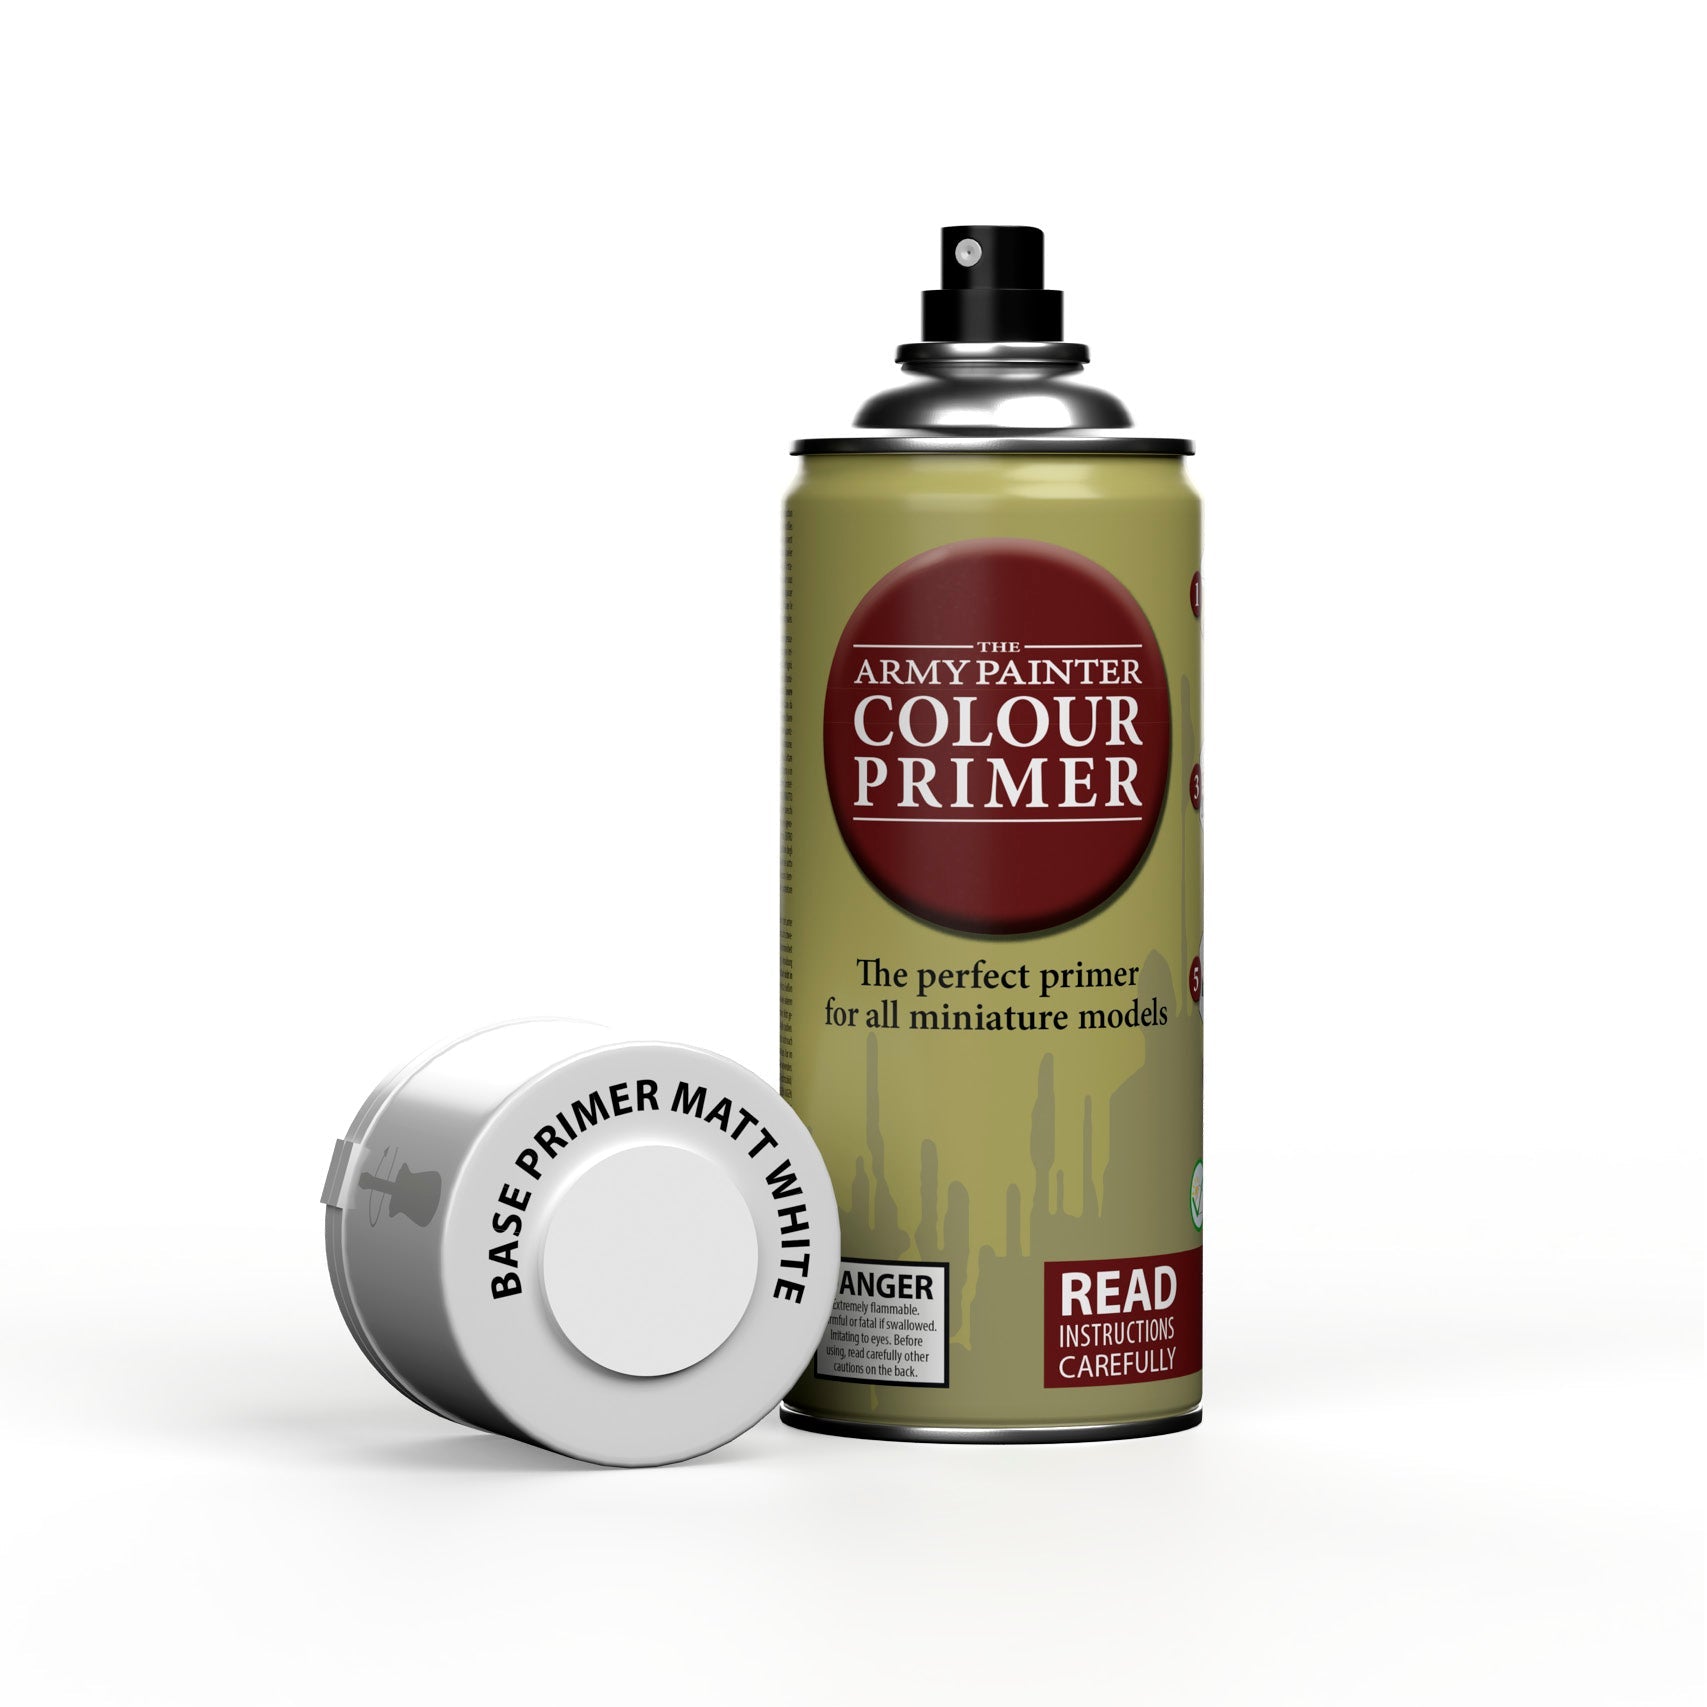
Prime the model with Uniform Grey Colour Primer, and then apply a zenithal spray of Matt White Colour Primer to create a gradient between the two colours.

Step 2
Paint all the blue armour with Speedpaint Cloudburst Blue, being careful not to get any on other areas, especially the areas that will be white.

Step 3
Next, apply Speedpaint Blinding Light diluted with a little bit of Speedpaint Medium to the helmet and the wings. Be careful not to let this pool on the top of the helmet.

Step 4
Paint the yellow feathers on the wings, the cloth on his arm, and the smaller feather like objects on his wrists and ankles with Speedpaint Maize Yellow.

Step 5
Next, apply Speedpaint Caribbean Ocean to the blue feathers on the wings.

Step 6
Pick out the gun, facemask, and leather pouches, belts, and grenades with Speedpaint Grim Black.

Step 7
Paint all the gold areas, such as the housings for the gems and the filagree on the pouch, with Speedpaint Glittering Loot.

Step 8
Re-basecoat the gems and eyes with Warpaints Fanatic Matt White if needed, and then paint them with Speedpaint Hive Dweller Purple.

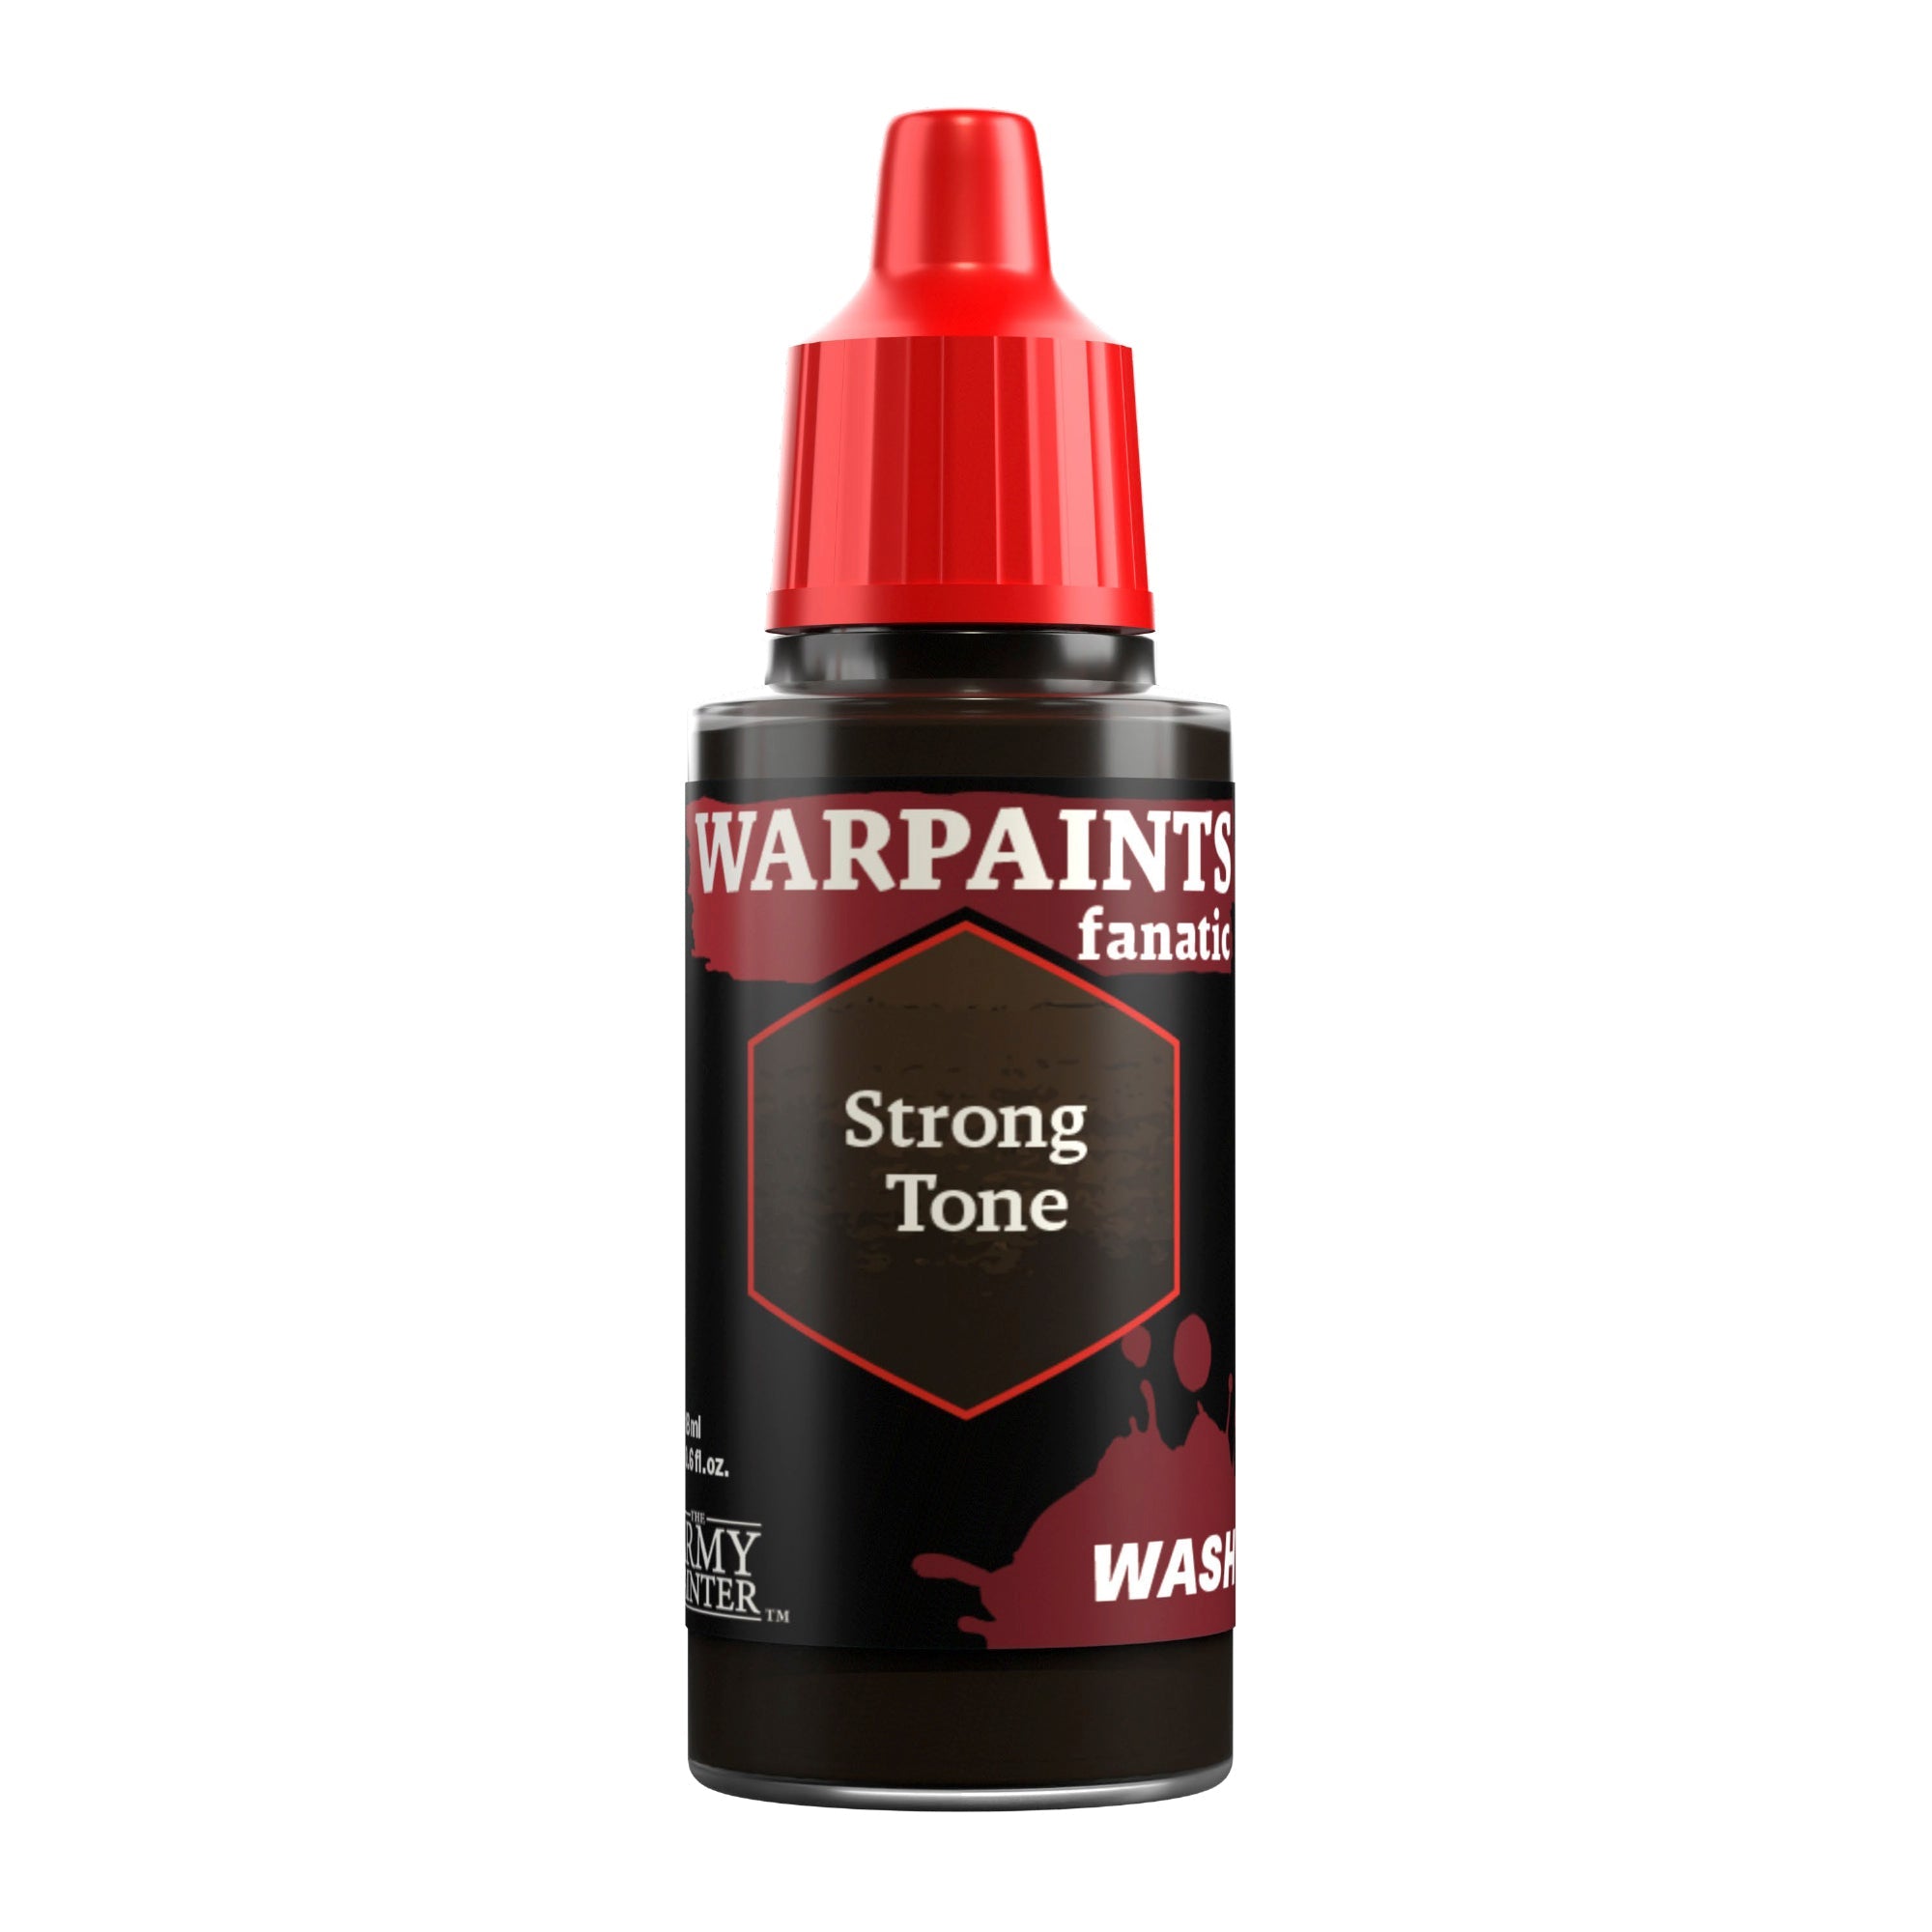
Where the Speedpaint bundles look to give you the iconic colour schemes in the fastest way possible, our Warpaints Fanatic bundles lean into the ancient art of layering, shading, and highlighting. This means a few more paints per bundle, nine in this case, as well as a few more steps, but each will reward you with a vibrant finished model with a bit more depth and punch to it. As with the Speedpaint tutorial, we’ve added in a few common paints outside of the bundles, in this case, Warpaints Fanatic Matt White, Matt Black, and the ever-popular Strong Tone Wash.

The Armour and Wings

Step 1
Prime the model with Uniform Grey Colour Primer, and then apply a zenithal spray of Matt White Colour Primer to create a gradient between the two colours.

Step 2
Basecoat all the blue armour with Warpaints Fanatic Phalanx Blue.

Step 3
Basecoat the blue feathers on the wings with Warpaints Fanatic Aegis Aqua.

Step 4
Next, apply a 2:1 mix of Warpaints Fanatic Wash Dark Blue Tone and water all over the blue armour, and a 1:1 mix of the same combo to the wings and white helmet.

Step 5
After this, re-layer the blue feathers on the wings with Warpaints Fanatic Aegis Aqua and use the same colour to apply an edge highlight on the blue armour.

Step 6
Next, apply a layer of Warpaints Fanatic Bright Sapphire to the blue feathers, leaving a bit of the previous steps showing through.

Step 7
Basecoat the yellow feathers on the wings, the cloth on his arm, and the smaller feather like objects on his wrists and ankles with Warpaints Fanatic Warped Yellow.

Step 8
Then apply Warpaints Fanatic Wash Strong Tone, diluted with a bit of water, to the yellow feathers, and also around the base of the blue feathers.

Step 9
Next, re-layer the yellow feathers with Warpaints Fanatic Warped Yellow, leaving a bit of the shading showing in the recesses.

Step 10
Finally, drybrush the white, yellow, and blue feathers on the wigs with Warpaints Fanatic Matt White, just picking out all the edges. At the same time, drybrush the helmet with the same colour, focusing on the raised areas. You can also apply a bit of a thinned-down glaze of Warpaints Fanatic Matt White to the forehead of the helmet to smooth out the drybrush texture a bit, and use it undiluted to apply edge highlights to the helmet. It’sa good idea to spend a bit more time on the helmet since it’ssuch a focal point on the model.

The Black

Step 1
Basecoat the gun, pouches, belts, grenades, facemask, gems, and eyes with Warpaints Fanatic Matt Black.

Step 2
Next, edge highlight this with Warpaints Fanatic Wolf Grey.

The Gems and Eyes

Step 1
Paint the housings on the gems, and any other gold areas with Warpaints Fanatic Evil Chrome.

Step 2
Re-basecoat the gems themselves with Warpaints Fanatic Matt Black if needed and then paint the bottom two-thirds of each gem with Warpaints Fanatic Magecast Magenta. Also, use this colour to do the same to the from two-thirds of each eye lens.

Step 3
Finally, repeat this process, but in the bottom and front one-third respectively with Warpaints Fanatic Spellbound Fuchsia and then dot the opposite corners with Warpaints Fanatic Matt White to make it look more reflective.
With that, your model is done!
Afterwards, we based him in a simple dirt and grass scheme with some Woodland Tufts and Meadow Flowers Tufts added on top. The ruined Aeldari structures were painted with Speedpaint Gravelord Grey, and a Warpaints Fanatic Uniform Grey/Strong Tone/Ash Grey combo respectively.
If you plan on using your model for gaming, we highly recommend varnishing it with either our Spray, Warpaints Air, or Warpaints Fanatic varnishes.


Buy The Paint Bundles
Do you want to paint up your own noble and elegant Swooping Hawks?
The Speedpaint Bundle contains the six core Speedpaints from the first model's tutorial, while the Warpaints Fanatic Bundle contains the nine core Warpaints Fanatic paints from the second tutorial. If you'd like to see all the Aeldari Bundles available, be sure to click on the third button and begin assembling your own warhost worthy of Khaine!
Be sure to tell us what you thought of this tutorial format, if you have any suggestions for improvements in the future, or even which models you want us to tackle.
If you paint your own model following one of these guides, tag it with #thearmypainteracademy to share your work!